 Table of Contents
Create a Project from a Template
Create, Open, Copy a Project
Starting a project is the first step in developing a project after launching the application. The following steps explain how you can create, open, and save a copy of a project.
Create an Empty Project
Creating an empty project creates a project without any content. You can customize its settings according to your needs.
To create an empty project:
- Click the Application Button at the upper-left of the Ribbon Menu.
- Click New and then select Empty Project.
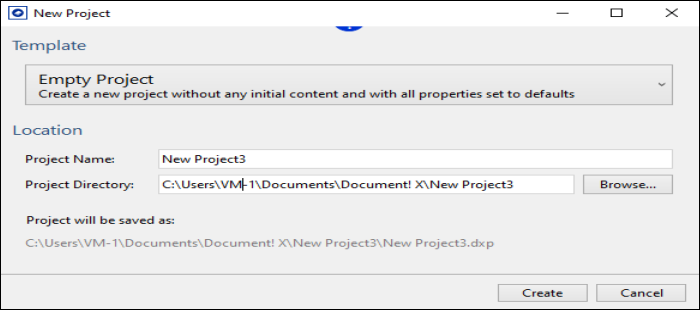
- Enter a project name in the Project Name field.
The project is created in the default directory, which is configurable in the Options Editor (Paths page). However, you can optionally choose a specific directory to save your project by browsing the Project Directory field.
- Click Create.
Open a Project
You can open an existing project from various sources such as a recent project, computer, source control, and samples.
- Click the Application Button at the upper-left top left of the Ribbon Menu and select Open.
The Open window is displayed.
- Select the project to open.
If you are working in a team or would like to make use of Source Control versioning and audit features, you can now Add the Project to Source Control.
Recently opened projects appear when you click the Application Button and on the Project Quick Start Page.
Open a Project from Source Control
If you want to open a project that is added to Source Control using HelpStudio, you can get a local copy and start working with it directly from HelpStudio.
Before you can use Source Control features, you must have chosen your source control provider in the Options editor (click Choose Provider from the Source Control tab).
- Click the Ribbon Application button and select Open from Source Control from the displayed Application menu.
- On the displayed browse dialog, choose the Source Control folder that contains the project you wish to open and select the location in which to store the local project copy.
- Click Ok. A local copy of the project is retrieved from Source Control and the project opens.
You only need to use this process the first time you open a project that is stored in Source Control. Once you have used Open from Source Control to create a local copy of your Source Controlled project, you can use the normal Open command to select and open your project file.
Save a Copy of the Project to a New Location
You can base a new project on an old one, as you do with Save As.
- Click the Application Button.
- Select Save As.
- Choose the new directory in which you want to save the project.
- Enter the file name for the project.
- Select Save.